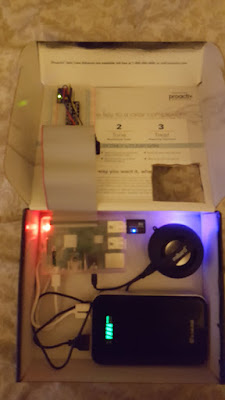
MAIN PROJECT INTRODUCTION: INTRUSION DETECTOR
For my main project, I have decided to turn my raspberry pi into a motion sensing device, capable of detecting the motion of a door (or anything else). When this project is complete, it should be attached to a door as a security feature and anytime someone opens or moves that door the pi will sound an alarm and send an sms (text message) notification.
MATERIALS
- Raspberry Pi with OS installed
- ADXL345 Accelerometer
- Wifi dongle
- A breadboard/T-cobbler with male to male jumper cables OR female jumper cables only
- A power bank
- Speaker with 3.5mm connection
- Any case to house the hardware
- Velcro/wall hooks
I am referencing the following tutorial as a guide for my project:
https://www.hackster.io/vijayenthiran/intelligent-door-e59113?ref=part&ref_id=6488&offset=13
INSTALLATION OF ACCELEROMETER
1. If using a breadboard pick a side to attach the accelerometer
2. Using jumper cables (male to male) from accelerometer to breadboard:
- 3V3 of accelerometer to 3V3 of breadboard
- Ground of accelerometer to ground of breadboard
- SCL to SCL
- SDA to SDA
Accelerometer pin connections:
- VCC_IN
- 3.3V
- GND
- SCL
- SDA
Connected accelerometer:
3. Install the accelerometer tools and turn on i2c in the configuration menu of the pi:
A previous image shows the accelerometer wired directly through the breadboard. In my original set up, the sensor was connected to the breadboard with a connected series of pins with the wires then connecting to adjacent spots on the board. For a long time I was having trouble getting the pi to detect my sensor. I was not sure if the sensor was bad or if I was doing something wrong. There seemed to be nobody on the internet who was having the same issue. Suddenly the light came on the sensor as I was attempting to remove it from the breadboard and at that point I realized the pins that came with the sensor were not long enough to connect to the breadboard so I rewired to the above image.
4. Install the adxl345 library to output orientation readings from the rpi:
Example readings from the connected accelerometer:

AWS IOT FOR SMS NOTIFICATIONS
AWS IoT stands for Amazon Web Service Internet of Things.
1. Create an Amazon Web Service account and access AWS IoT from the menu:

2. Create a resource named "raspberry_pi":
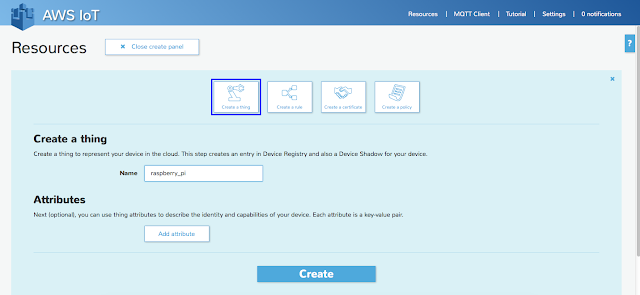
3. Generate certificate and policy keys in order to connect to the pi:
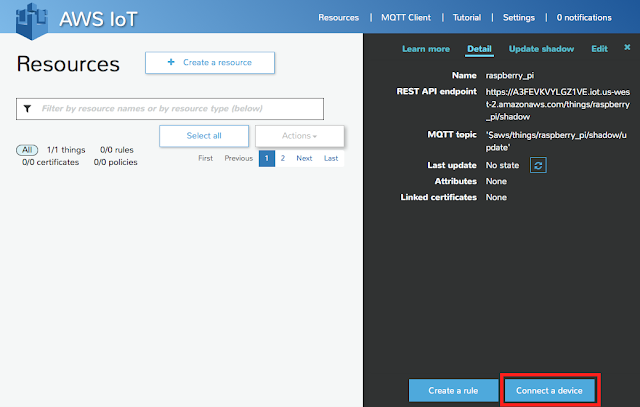


4. Install Node.js to the pi inside of aws-iot directory:
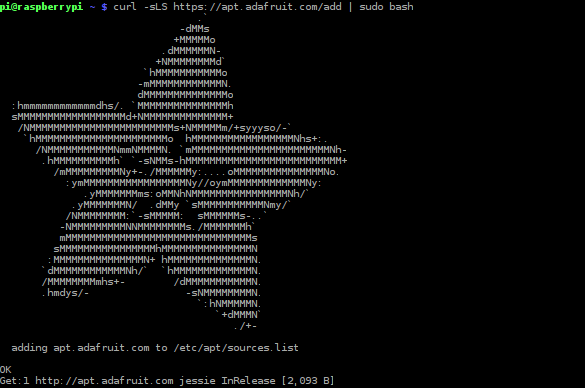

5. Install the device sdk:

6. Create folder for certification keys inside of aws-iot folder and install Symantec certification file:

7. On the AWS connect the raspberry pi to the service

8. Set up a topic to subscribe to on the AWS which will listen to the RPi for door movement

Messages received to the web service:
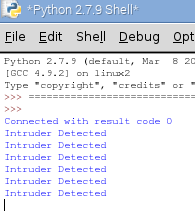
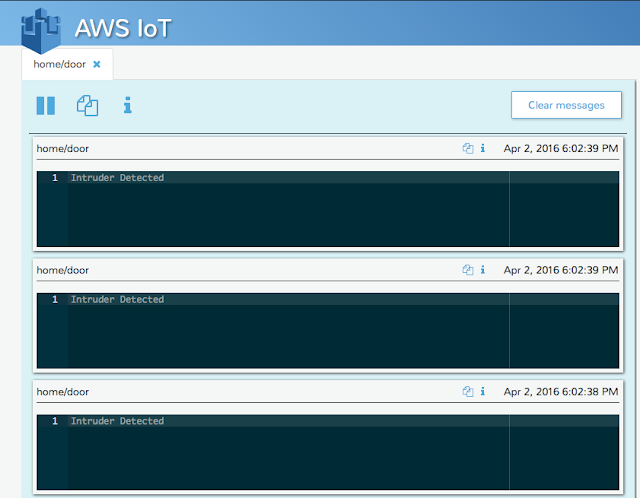
RECEIVING SMS MESSAGES THROUGH AWS IOT
1. On the AWS use the SNS link to create a topic

2. Name the topic
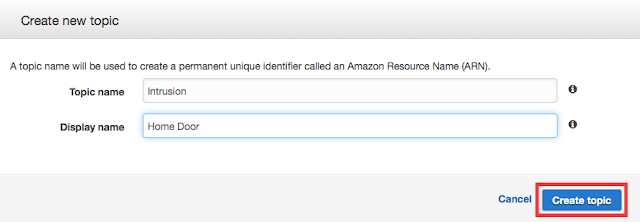
3. Add phone number or email address to the service
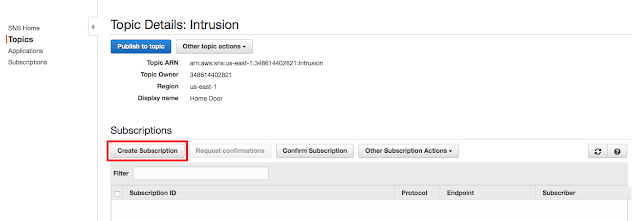

4. Link phone number or email address to the web service in order to forward messages
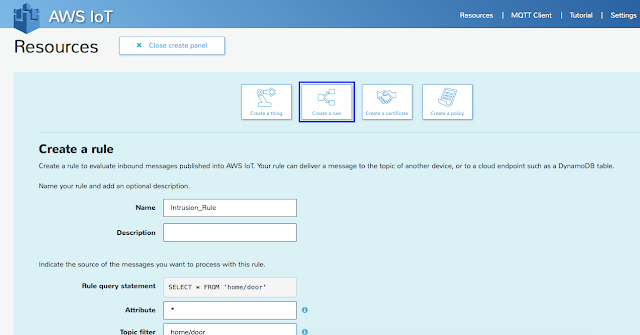


SMS alerts:

ALARM FUNCTIONALITY
1. Plug speaker into usb power source and 3.5mm jack of the Pi
*Command to force RPi to output audio through the 3.5mm headphone jack instead of HDMI:
2. Select an alarm mp3 file and save it in the aws-iot folder

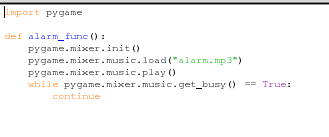
3. Code for alarm integration (add to main intrusion detection code file if statement)
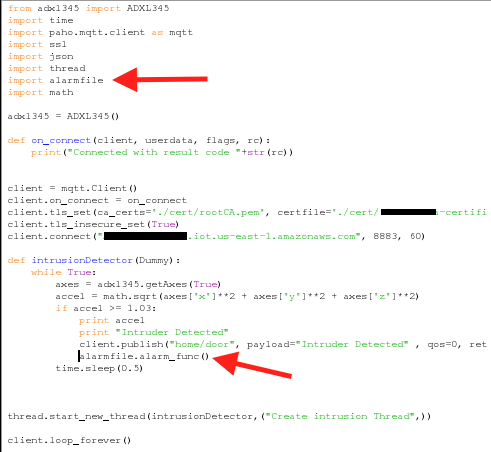
Code for intrusion detection with alarm:
COMPLETED PROJECT
